AhsayCBS
Microsoft Exchange Restore Activities Log
The information below demonstrates how you can verify the restoration activities log between AhsayOBM and the Microsoft Exchange Server.
To verify the restoration activities log, open both the Restore Report in AhsayOBM and the Event Viewer in the Microsoft Exchange Server.
Open Restore Report in AhsayOBM
- Open AhsayOBM, then click the Report icon on the main interface page.
Click Restore on the left, then click the restore report you want to verify on the right.
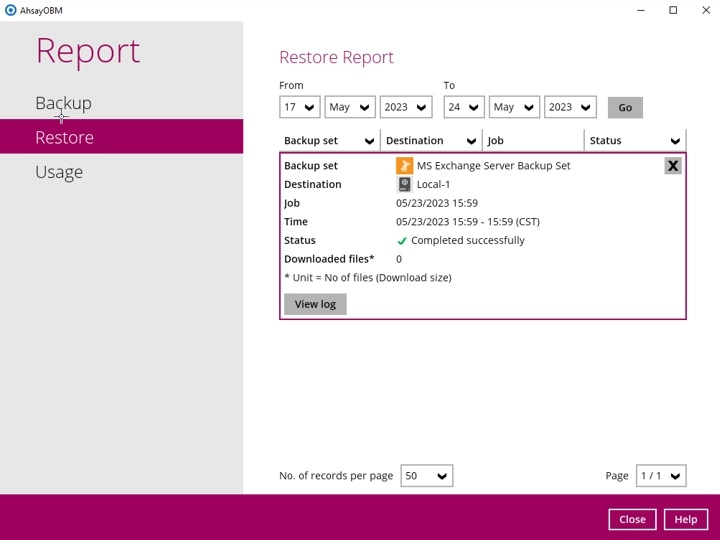
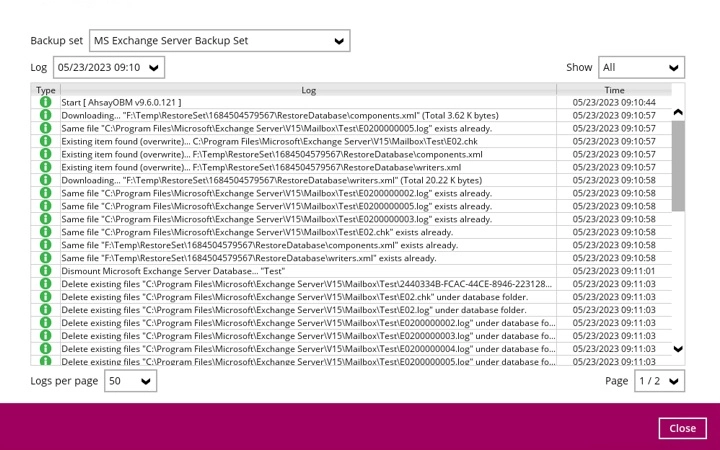
Click the View Log button to show all the restoration activities log.
Open Event Viewer in Microsoft Exchange Server
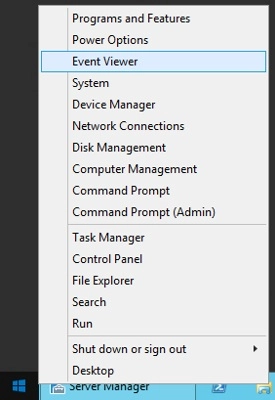
Right-click the Start menu button on the bottom left corner in the Exchange Server, then click on Event Viewer.
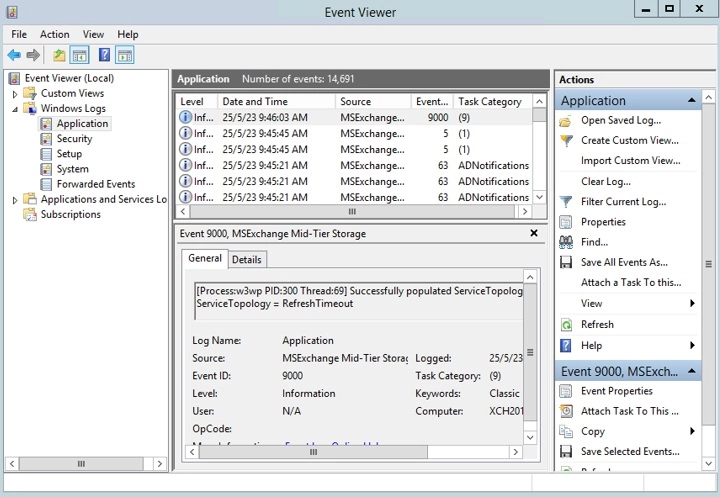
In the Event Viewer page, click Windows Log on the left to expand the menu tree then select Application. All Application activities logs are displayed on the middle now.
Cross-checking activities log on AhsayOBM Restore Report and Exchange Server Event Viewer
Each restoration action item initiated by AhsayOBM represented by individual activity log in the Restore Report in AhsayOBM, and the corresponding action taking place in the Exchange Server is shown in the Event Viewer as well.
There are 5 major parts to take place during the database restoration progress as shown below.
1 - Download files from AhsayCBS to Temp Folder
AhsayOBM Restore Report

2 - Dismount Exchange Server Database
AhsayOBM Restore Report

Event Viewer in Exchange Server

3 - Restore files to Exchange Server Database
AhsayOBM Restore Report

Event Viewer in Exchange Server
4 - Remount Exchange Server Database
AhsayOBM Restore Report

Event Viewer in Exchange Server

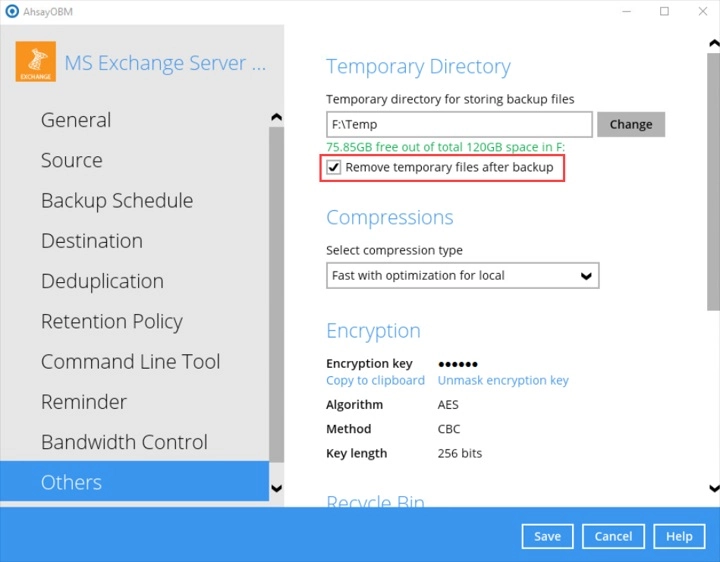
5 - Delete files from Temp Folder
By default, temporary files will be deleted from the temp folder after backup. This feature can be turned on or off by following the steps below:
- Open AhsayOBM, then click the Backup Set icon on the main interface.
- Select the backup set you would like to change this setting.
- Click Show advanced settings on the left, then select Others.
Tick/Untick the Remove temporary files after backup checkbox to enable or disable this feature.