AhsayCBS
Set Up the Hard Disk
We will assign a pair of hard disks for the user home of each AhsayCBS. Follow the instructions below to set up the hard disk:
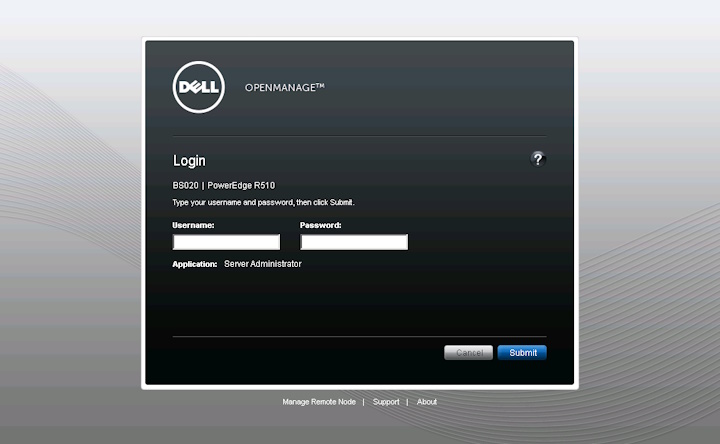
- Enter https://<your_servername>:1311 in your browser to open DELL OPENMANGE™.
Login as administrator, enter <Username> and <Password>, then click Submit.
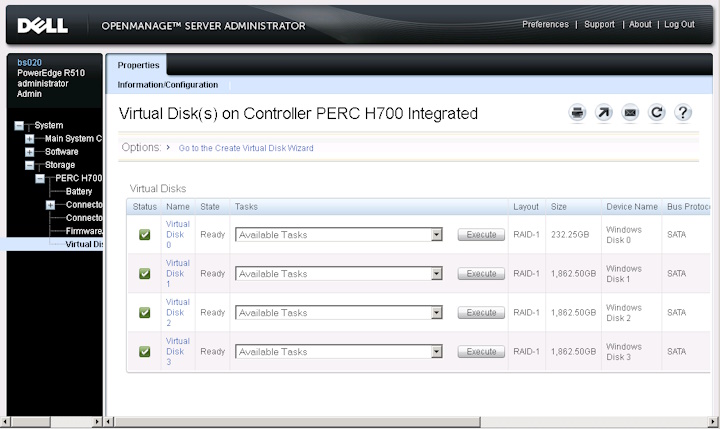
In the navigation bar on the left, select System > Storage > PERC H800 External Adapter (PCI Slot 4) > Connector 0 (RAID) > Virtual Disk.
In the main window on the right, go to Options > Go to Create Virtual Disk Wizard.
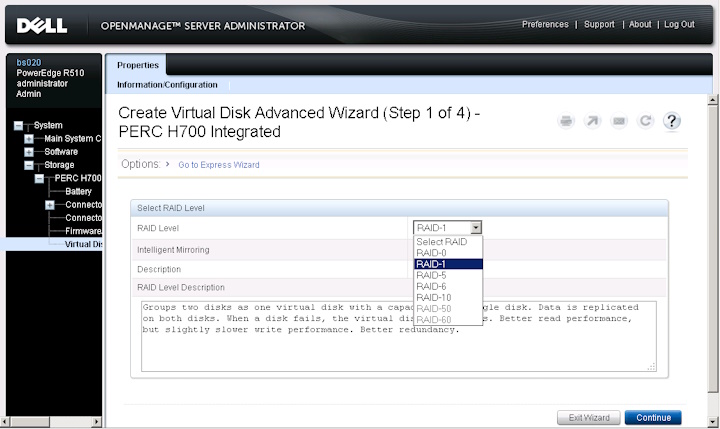
Click Options > Go to Advanced Wizard to start the Create Virtual Disk Express Wizard.
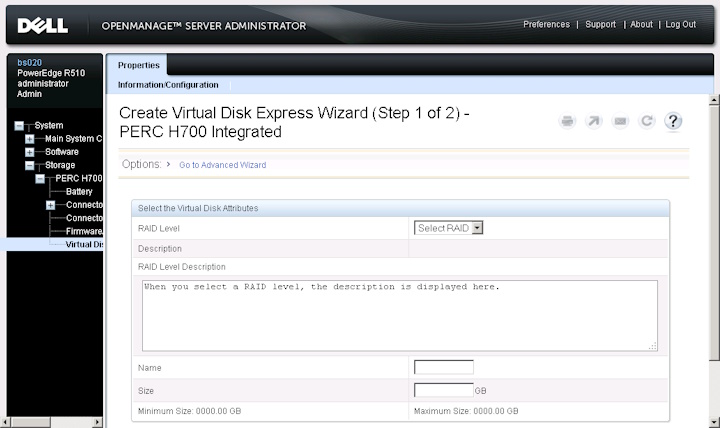
Select RAID-1 from the RAID Level dropdown menu, then click Continue.
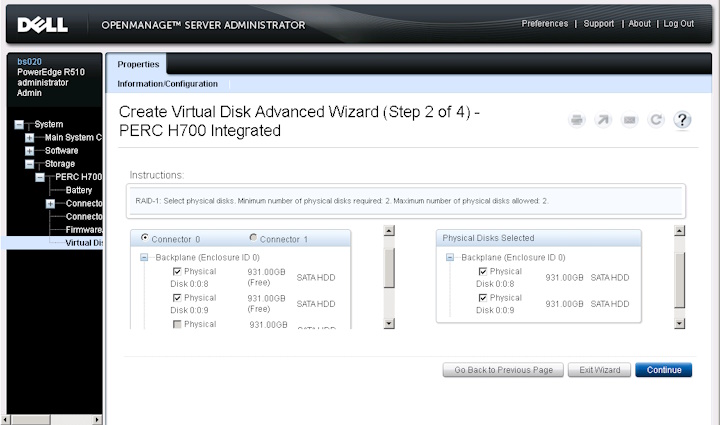
Select the disks in the Connector box on the left. You can see the selected hard disks in the box on the right hand side. Click Continue.
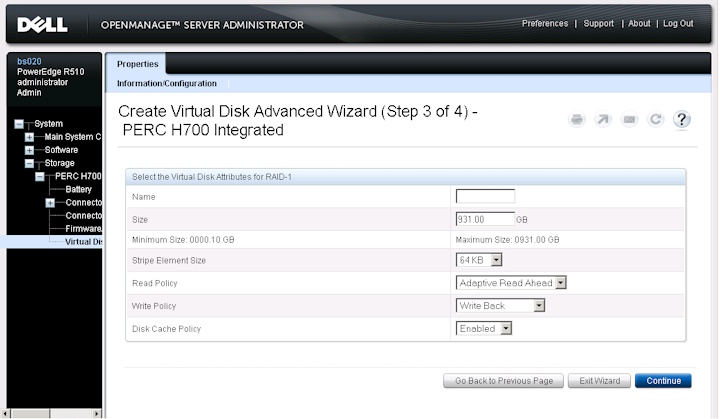
Click Continue.
Click Finish.

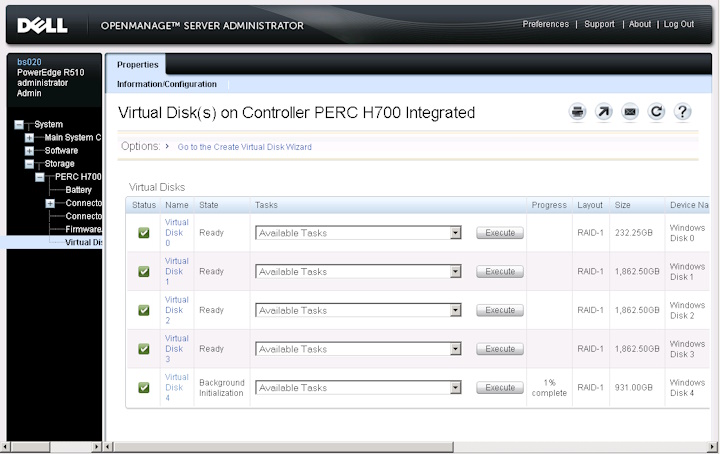
Wait for a few minutes, then refresh the screen. The background initialization of the virtual disk starts.
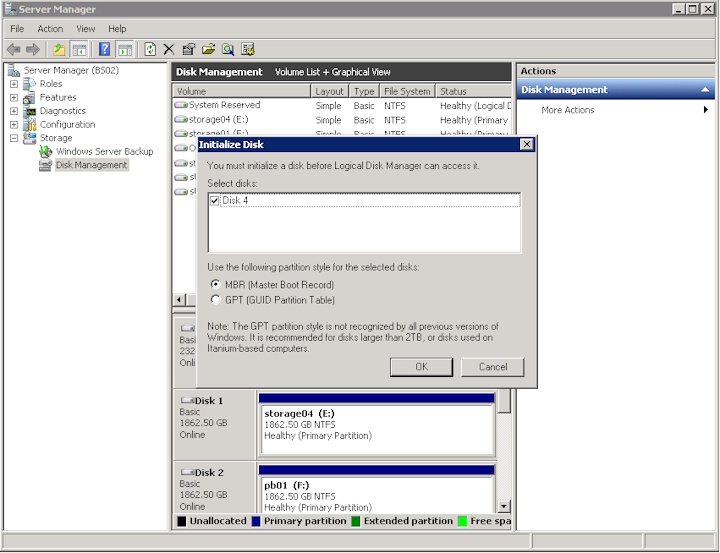
Go to Server Manager > Disk Management in Windows. An Initialize Disk dialog box appears informing you that you have a new disk.
- If your disk is less than 2TB, click the MBR (Master Boot Record) radio button.
- If your disk is larger than 3TB, click the GPT (Guild Partition Table) radio button.
Click OK.
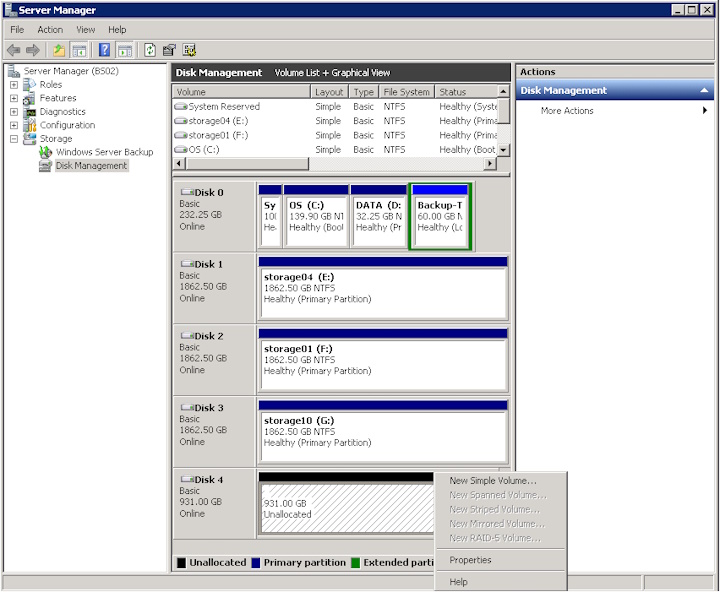
Right click the new disk (Disk 4 in our example), then select New Simple Volume.
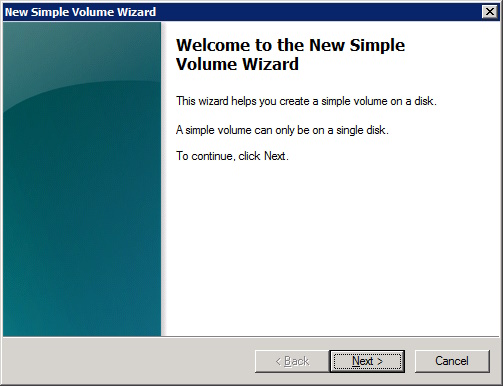
The Welcome to the New Simple Volume Wizard appears. The wizard provides you with step by step instructions on how to create a simple volume on a disk. Click Next.
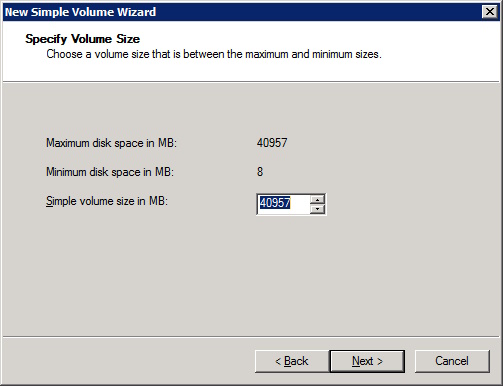
Specify the volume size of the disk you want to create. The value must be between the maximum and minimum disk space in MB. Click Next.
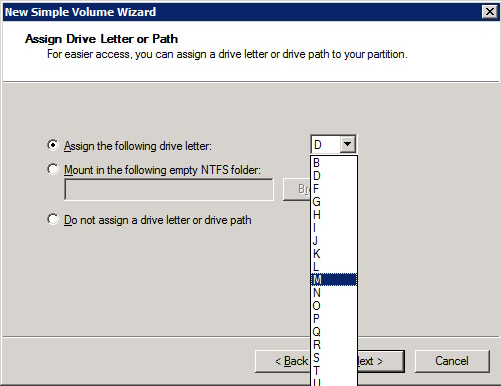
Assign a drive letter to the drive, for example, M:\. Click Next.
Format the disk volume by selecting NTFS as the file system. Click Next.

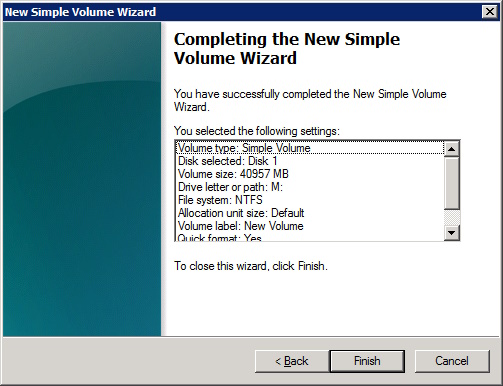
When you have finished formatting the disk, a dialog box appears summarizing the settings you have selected. Click Finish.